Available 7 Days a Week | Emergency Service Available
Call Now: 0333 567 2349 
Repainting a painted driveway can transform your property's kerb appeal while providing essential protection for your concrete or asphalt surface. Whether you're dealing with a faded domestic driveway or maintaining commercial car parks, knowing how to repaint a painted driveway properly makes all the difference between a job that lasts years and one that fails within months.
Most driveway paint typically needs refreshing every 3-5 years due to UV exposure, rain, and constant vehicle traffic. The good news is that repainting costs around 30% less than the first application since the base preparation is lighter and the process is quicker.
Painted driveways face constant assault from the elements. Rain, UV rays, oil stains, and vehicle tyres gradually wear away even the best paint. When your driveway starts showing signs of wear, repainting becomes necessary to maintain both appearance and protection.
A properly repainted driveway can handle up to 20,000 vehicle passes per year when done correctly. The key lies in thorough preparation, using the right materials, and applying the paint with care. Commercial properties particularly benefit from regular repainting to maintain a professional appearance that reflects well on the business.
The existing driveway already has a painted surface, which means we're working with a foundation that needs careful preparation to ensure the new coat bonds properly.
Before you start painting, examine every inch of your concrete driveway or tarmac surface. Look for areas where the paint has become faded, cracked, or peeling. Check for oil stains that might prevent new paint from adhering properly.
Run your hand over the surface to feel for loose or flaking paint. Any areas where paint comes away easily need attention before repainting begins. Skipping old paint removal can shorten the lifespan of your new finish by half, potentially requiring another repaint within just 1-2 years.
Small cracks in the concrete surfaces should be noted, as these will need filling before applying fresh coat. Large areas of damage might indicate that your driveway needs more extensive repair work before painting.
Gathering the right equipment makes the job much smoother. You'll need a pressure washer for cleaning, which removes up to 90% of surface dirt and debris that would otherwise prevent proper paint adhesion.
For application, invest in both a large roller for covering big areas quickly and a brush for detailed edge work. The roller gives an even finish across the main surface, while the brush ensures neat edges and corners.
Essential materials include specially formulated concrete paint or driveway paint designed for your surface type. Water based primer helps extend paint longevity by 30-40% and creates better adhesion. You'll also need paint thinner for cleanup and masking tape to protect areas you don't want painted.
Don't forget concrete sealer if your surface requires it, plus materials for crack repair such as concrete filler.
Working with driveway paint requires proper safety measures. Ensure good ventilation, especially when using solvent-based products. Wear protective clothing, including gloves and eye protection.
Check the weather forecast before starting. Rain can ruin wet paint, so plan for at least 24 hours of dry conditions. Summer temperatures are ideal, but avoid painting in direct hot sunshine which can cause the paint to dry too quickly and leave brush marks.
Protect surrounding areas with masking tape and plastic sheeting. Car parks and driveways often connect to buildings, gardens, or other surfaces that need protection from paint splashes.
Pressure washing is the first major step in prep properly preparing your driveway. This removes years of accumulated dirt, moss, algae, and loose debris that would prevent new paint from sticking. Knowing what to spray on driveway before pressure washing can make this process even more effective—pre-treatment solutions like degreasers, moss killers, or concrete cleaners help break down stubborn grime before you begin.
Use a pressure washer with appropriate settings for your surface type. Concrete can handle higher pressure than some tarmac surfaces. Work systematically across the whole thing, paying extra attention to heavily soiled areas.
After pressure washing, allow the surface to dry completely. This typically takes 24-48 hours depending on weather conditions and drying time requirements. The surface must be completely dry before proceeding, as moisture trapped under new paint will cause adhesion problems.
For stubborn stains, particularly oil stains, you may need degreasing products specifically designed for driveways. These should be applied, left to work according to instructions, then rinsed thoroughly.
This step separates successful repainting from jobs that fail quickly. Up to 70% of a successful repaint comes from thorough preparation, and paint removal is a crucial part of this process. Knowing how to remove driveway paint properly can make all the difference in achieving long-lasting results.
Use a scraper, wire brush, or paint removal tool to remove all loose, peeling, or flaking paint. Areas where old paint is firmly bonded can usually be painted over, but anything that moves under pressure must come off.
For larger areas of loose paint, consider using a paint stripper designed for exterior concrete surfaces. Always follow manufacturer instructions and ensure adequate ventilation.
After removing loose paint, brush away all debris and dust. Any particles left behind will show through your new finish and may cause the fresh coat to fail prematurely.
Fill any cracks in the concrete or asphalt before applying primer. Use appropriate crack filler that's compatible with your surface type and the paint you plan to use.
For hairline cracks, a flexible concrete crack filler usually works well. Larger cracks may need more substantial repair. Allow crack filler to cure completely according to manufacturer instructions before proceeding.
Once repairs are complete, check the entire surface is clean and dust-free. A final sweep or vacuum removes any remaining debris that could interfere with paint adhesion.
The ground should now be ready for priming. Any areas of new concrete or major repairs may need extra attention during the priming stage.
Water based primer provides the foundation for a long-lasting paint job. Apply primer to all areas where you've removed old paint, repaired cracks, or exposed bare concrete.
Use your brush for edges and corners, then switch to the large roller for big areas. Work in sections, maintaining a wet edge to avoid visible overlap marks. Apply primer in a single layer, following manufacturer coverage recommendations.
Some specially formulated primers for driveways include bonding agents that help the first coat and second coat stick better to challenging surfaces. These are particularly useful when repainting over different types of existing paint.
Allow primer to dry according to instructions before applying your first coat of driveway paint. This usually takes 4-6 hours but can vary based on temperature and humidity.
The best driveway paints are specifically designed for the unique challenges of floor surfaces that face constant traffic and weather exposure. Standard exterior house paint isn't suitable for this big job. Understanding what type of paint do you use on a driveway is essential to ensure the coating withstands these conditions effectively.
Concrete driveway paint comes in various formulations. Water based options are easier to clean up and have less odour, while solvent-based paints often provide superior durability. Both types can give excellent results when applied properly.
Consider colour carefully. While coloured finishes are popular, they fade up to 50% faster than black. If longevity is your priority, stick with darker colours that show less wear over time.
For commercial car parks or high-traffic domestic driveways, look for paint specifically rated for heavy-duty use. These formulations cost more initially but often provide better long-term value.
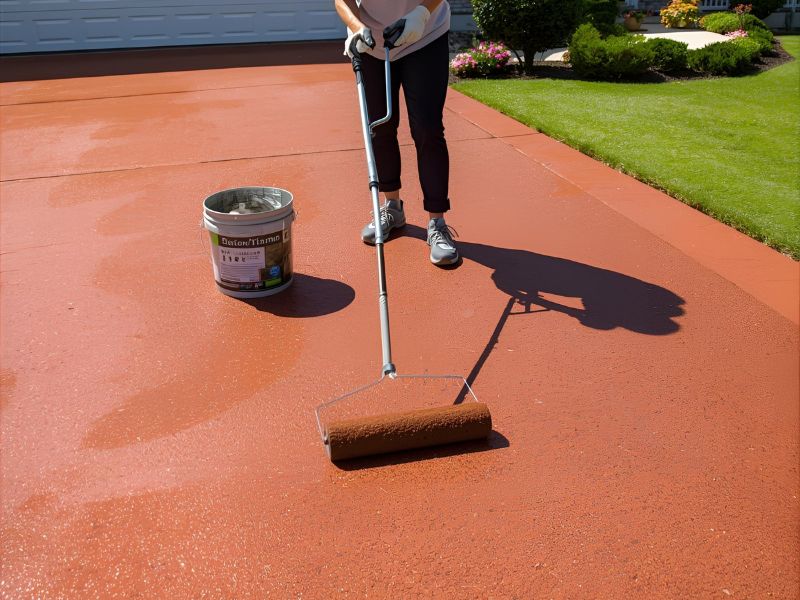
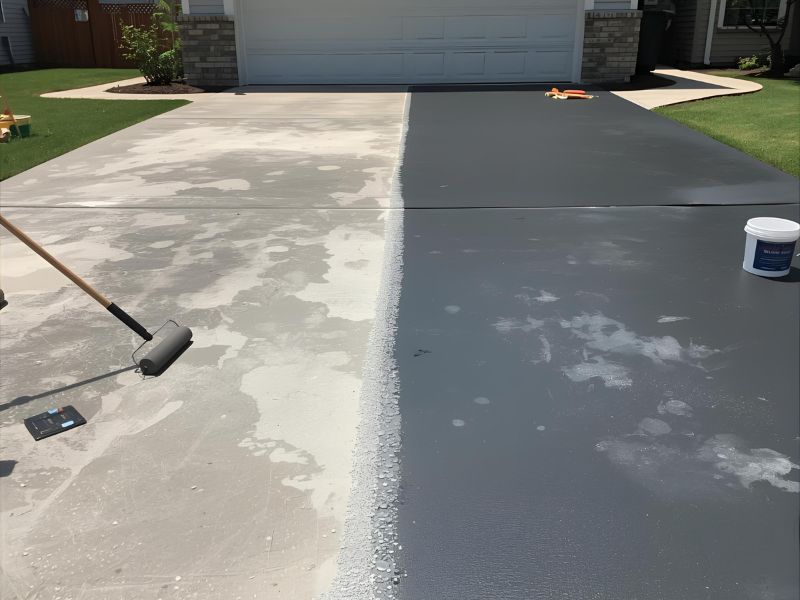
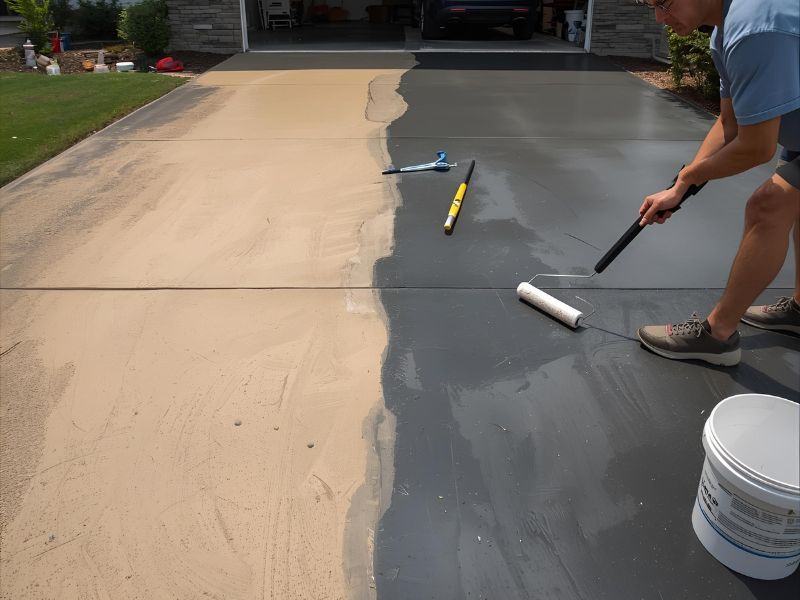
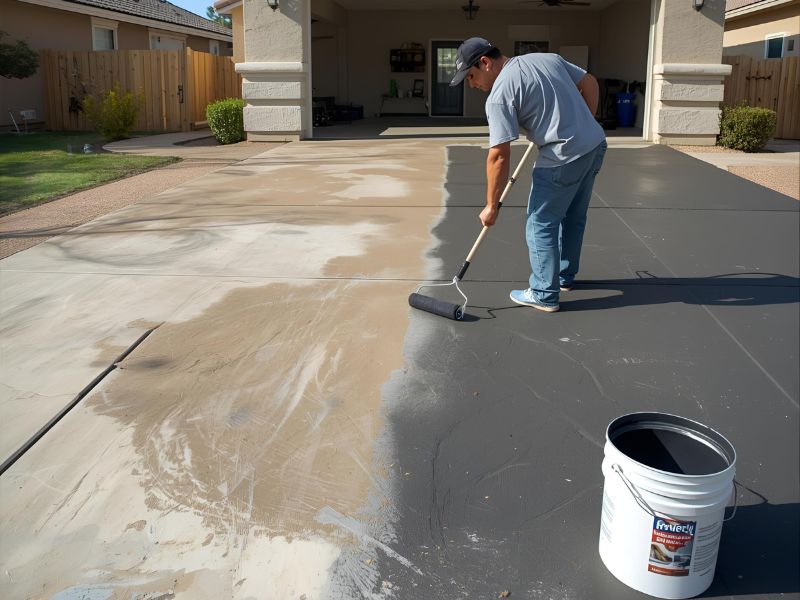
Start painting early in the day when temperatures are warm but not hot. Begin with edges and corners using your brush, then move to the main surface area with your roller.
Two thin coats last twice as long as one thick coat. This golden rule applies particularly to driveway painting where durability matters most. The first coat should be applied evenly without trying to achieve full coverage in a single pass.
Work in sections, maintaining the same colour consistency throughout. Don't let paint pool in low spots, as this creates uneven coverage and potential durability issues.
When applying the second coat, wait for the first to become touch-dry but not fully cured. This usually provides the best adhesion between coats while avoiding the wet edge problems that can occur if you wait too long.
After completing your painting tarmac or concrete surface, protect the fresh coat from foot traffic and vehicles. Most driveways require 24-48 hours before light foot traffic and up to a week before vehicles can safely use the surface. If you're wondering how long before you drive on a painted driveway, always follow the product-specific guidelines, as premature use can compromise the finish and longevity.
Temperature and humidity affect drying time significantly. Cool, humid conditions extend curing time, while warm, dry conditions speed the process. Plan accordingly and don't rush to use the surface too early.
During the curing period, protect the surface from rain if possible. While most driveway paints are formulated to handle light moisture after the initial few hours, heavy rain on uncured paint can cause problems.
Watch for any areas where the paint may have applied unevenly. These can sometimes be touched up once the main application has cured, but it's better to catch and correct issues during the application phase.
A well-executed repainting job typically lasts 3-5 years before requiring attention. However, high-traffic areas or spots subject to oil drips may need future touch-ups sooner.
Keep some of your best paint for future maintenance. Store it properly according to manufacturer instructions to ensure it remains usable for small repairs.
Regular cleaning helps extend paint life. Sweep away debris regularly and clean spills promptly. Annual pressure washing can remove dirt and grime that would otherwise accelerate paint wear.
For most driveways, the repainting process can be completed in a single day when conditions are right and preparation is thorough. This makes it a manageable big area project for both domestic and commercial properties.
While painting a driveway is within the capabilities of most property owners, certain situations may warrant professional help. Large commercial car parks, complex surface repairs, or situations where downtime must be minimised often benefit from professional expertise.
Professional contractors bring experience with different surface types, access to commercial-grade equipment, and knowledge of the best paint systems for specific applications. They also carry insurance and typically guarantee their work.
For domestic driveways and smaller commercial applications, the DIY approach can provide significant cost savings while allowing you to work at your own pace and ensure attention to detail.
The cost of repainting varies significantly based on driveway size, surface condition, and materials chosen. Basic water based paint costs less than premium solvent-based systems, but the price difference often reflects durability expectations. If you're asking how much does it cost to get your driveway painted in the UK, typical figures will depend on whether you go DIY or hire a professional.
Factor in the cost of cleaning equipment rental if you don't own a pressure washer, plus consumables like brushes, rollers, primer, and crack repair materials. The total cost typically ranges from £3-8 per square metre for DIY projects.
Professional repainting usually costs more per square metre but includes labour, equipment, and often guarantees on the work quality. For large commercial projects, the efficiency and reduced disruption often justify the additional expense.
Successfully repainting a painted driveway requires patience, proper preparation, and attention to detail. The process isn't complicated, but cutting corners during cleaning, paint removal, or application almost always leads to disappointing results.
Remember that up to 70% of success lies in thorough preparation work. Take time to clean properly, remove loose paint completely, and repair any damage before applying fresh coats. This foundation work ensures your repainted driveway will provide years of attractive, durable service.
Whether you're maintaining a domestic property or commercial premises, a properly executed repainting project enhances appearance while protecting your investment. The techniques outlined here apply to most driveway types and paint systems, though always follow specific manufacturer recommendations for your chosen materials.
For professional advice and a free quote on your driveway repainting project, contact Driveway Painting UK. Our experienced team can assess your specific requirements and recommend the best approach for your particular situation.